Trying the EspoTek Labrador
This blog post details my first experiences with the EspoTek Labrador, a small, portable, USB-connected electronics lab-on-a-board which includes an oscilloscope, waveform generator, power supply, logic analyzer, and multimeter.
Most notably, both hardware and software are Open Source!
References
- Labrador campaign on CrowdSupply: https://www.crowdsupply.com/espotek/labrador
- (Draft) Documentation on Google Drive
- All design files for the Labrador can be found on GitHub: https://github.com/espotek/Labrador
Installing Application Software
Here are the steps to install the software on my laptop itm-gpaolo-w10 (MS Windows 10)
Download file EspoTek Labrador.exe from Google Drive > "Windows(xxx)"
NOTE: The software is based on Qt and the sources are available at https://github.com/espotek/Labrador - even though the repository is a little bit messy at the moment - See https://github.com/EspoTek/Labrador/issues/8
Double click EspoTek Labrador.exe to launch the EspoTek Labrador Setup
Welcome to the Prerequisites Setup Wizard
The setup has determined that some of the prerequisites needed to run the EspoTek Labrador are missing. This wizard will assist you in getting and installing those prerequisites. Click "Next" to continue or "Cancel" to exit the Setup Wizard.
Click "Next >"
Select which prerequisites will be installed
- EspoTek Labrador USB Driver (Bootloader Mode)
- EspoTek Labrador USB Driver (Normal Mode)
Leave all selected, then click "Next >"
Welcome to the Device Driver Installation Wizard!
This wizard helps you install the software drivers that some computer devices need in order to work.
Click "Next >"
Completing the Device Driver Installation Wizard
The drivers were successfully installed on this computer.
You can now connect your device to this computer. If your device came with instructions, please read them first.
Driver Name:
libusb-win32 ATxmega32A4U (02/24/2013 1.2.6.0)
Click "Finish"
Welcome to the Device Driver Installation Wizard!
This wizard helps you install the software drivers that some computer devices need in order to work.
Click "Next >"
Completing the Device Driver Installation Wizard
The drivers were successfully installed on this computer.
You can now connect your device to this computer. If your device came with instructions, please read them first.
Driver Name:
EspoTek Labrador (04/28/2014 3.0.7.0)
Click "Finish"
EspoTek Labrador Setup - End-User License Agreement
Please read the following license agreement carefully
GNU GENERAL PUBLIC LICENSE Version 3, 29 June 2007 ...
Select "I accept the terms in the License Agreement", then click "Next >"
Welcome to the EspoTek Labrador Setup Wizard
The Setup Wizard will install EspoTek Labrador on your computer. Click "Next" to continue or "Cancel" to exit the Setup Wizard.
Click "Next >"
Select Installation Folder
This is the folder where EspoTek Labrador will be installed.
To install in this folder, click "Next". To install to a different folder, enter it below or click "Browse".
Folder:
C:\Program Files\EspoTek\EspoTek Labrador\
Click "Next >"
Ready to Install
The Setup Wizard is ready to begin the EspoTek Labrador installation
Click "Install" to begin the installation. If you want to review or change any of your installation settings, click "Back". Click "Cancel" to exit the wizard.
Click "Install"
Microsoft Visual C++ 2013 Redistributable (x64) - 12.0.40649
MICROSOFT SOFTWARE LICENSE TERMS MICROSOFT VISUAL C++ REDISTRIBUTABLE FOR VISUAL STUDIO 2013
Select "I agree to the license terms and conditions", then click "Install"
Microsoft Visual C++ 2013 Redistributable (x64) - 12.0.40649
Setup Successful
You must restart your computer before you can use the software.
Click "Restart".
When the computer reboots, the EspoTek Labrador Setup Wizard will be restarted. Click "Next >" when requested, until you get the following
Completing the EspoTek Labrador Setup Wizard
Click the "Finish" button to exit the Setup Wizard.
- Launch EspoTek Labrador
Click "Finish".
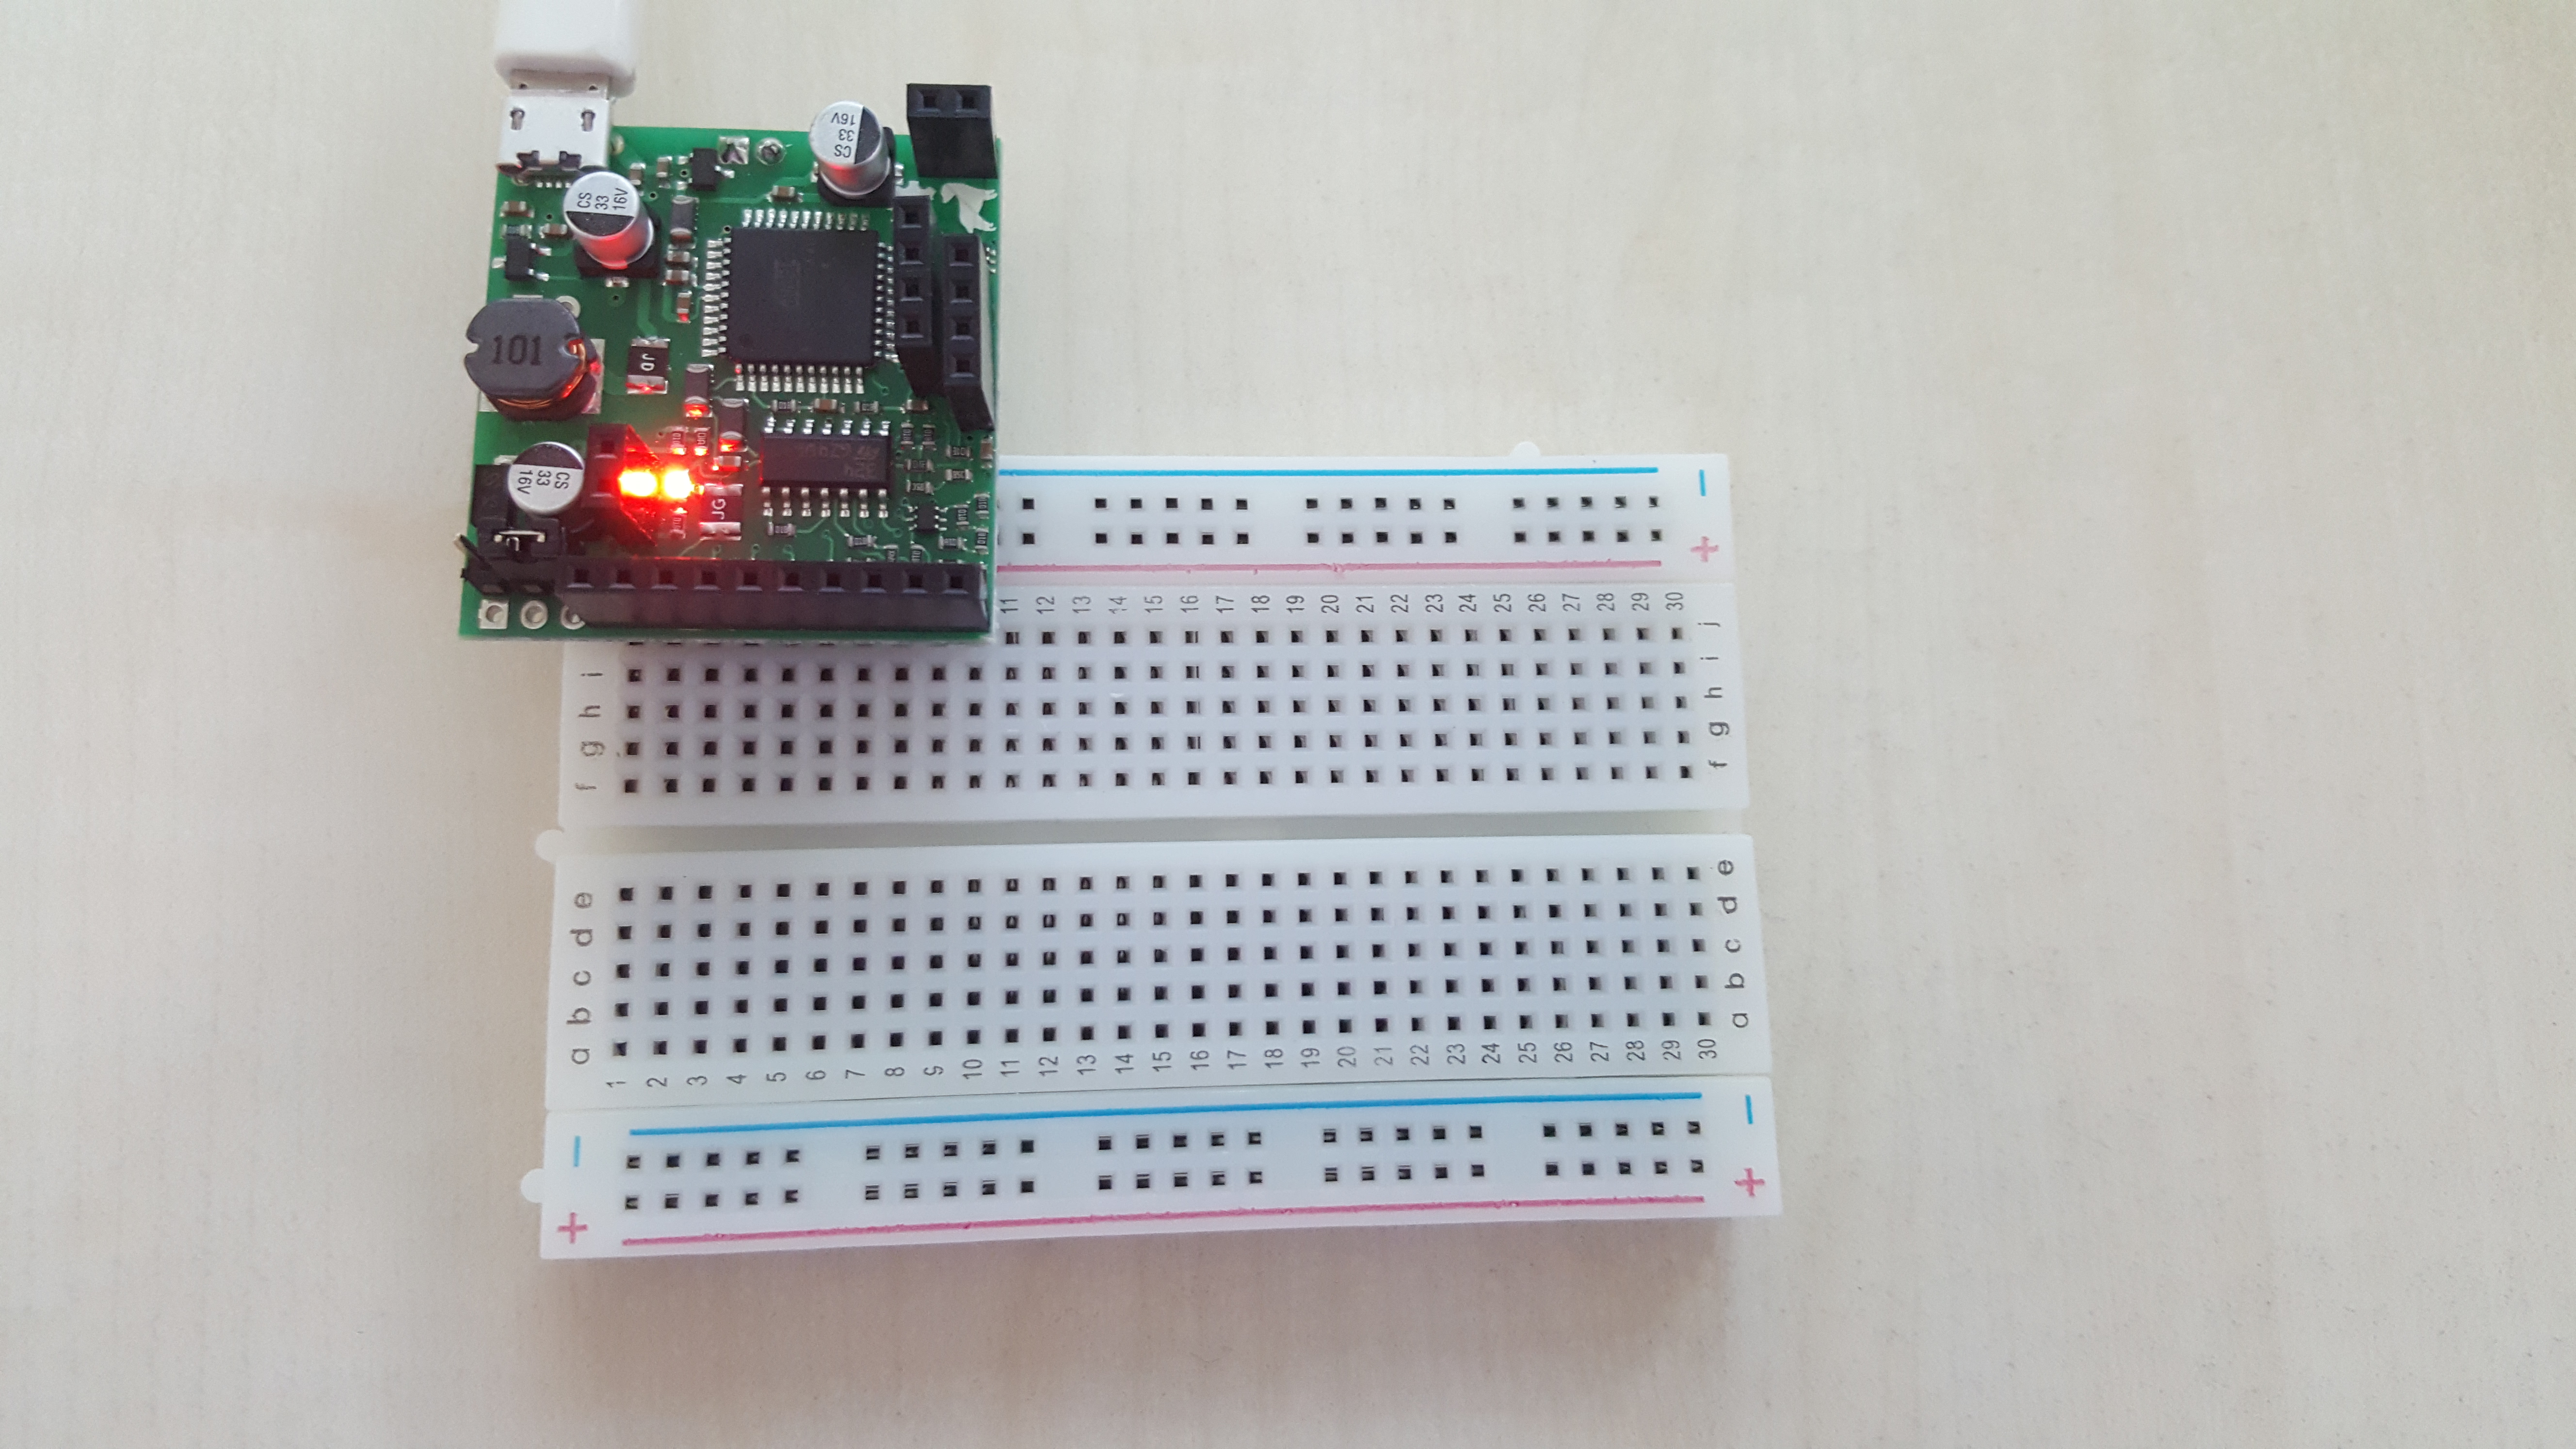
Connecting the Labrador
You can plug your Labrador into a breadboard and also connect +5V and GND to the power rail.
See photo.
Connect the Labrador to your PC via a USB-to-MicroUSB cable.
The red LED on the Labrador should turn on.
Open the Windows Device Manager to verify that the device is recognize, then launch the Labrador application software.
See also
- https://github.com/tardate/LittleArduinoProjects/tree/master/Equipment/Labrador - excellent notes by another backer